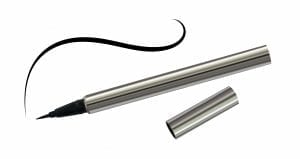
How often has it happened that in your efforts to create that perfect winged liner, you just end up messing both your eyes and have to promise yourself to never even look at an eye liner again?
Eye liner just amps up your makeup game to a whole new level and that dramatic winged eye liner simply makes your entire makeup pop, however, most of us truly struggle with it.
In some cases, you manage to do one eye perfectly well but as you move on to the other eye, it is nothing but a disaster.
So how do you create that perfect winged liner in one go?
Here’s how!
Start With the Flick
One of the toughest parts about applying eye liner flawlessly is getting the entire thing to look even and leveled. This requires some hardcore finessing and precision.
Start by drawing a single angled line from the corner of your eye and then take it all the way up. Do both sides one by one and then compare them if they look identical. The main purpose behind creating the flick is to ensure that you don’t mess up the next steps.
Get the Flick Right
Creating the flick may seem like an easy job but what you probably often do wrong is you flick your liner to the sides which is exactly what you shouldn’t do. The trick to have the perfect winged look is to flick it upwards instead of the sides. Giving an angle to the flick will help elevate your eyes and change its shape.
Fill the Wing
Once you have both the wings in place, it is time to dot them and fill them up. To do this step flawlessly, you must have super steady hands or all your efforts will just go to waste. Press the liner tip along your lash line and slowly fill in the empty spaces. Add in a slight curve in the middle of your eye to make it look more natural.
There you go! You have the perfect winged liner in a single attempt!


